Kanom Chunt Dessert
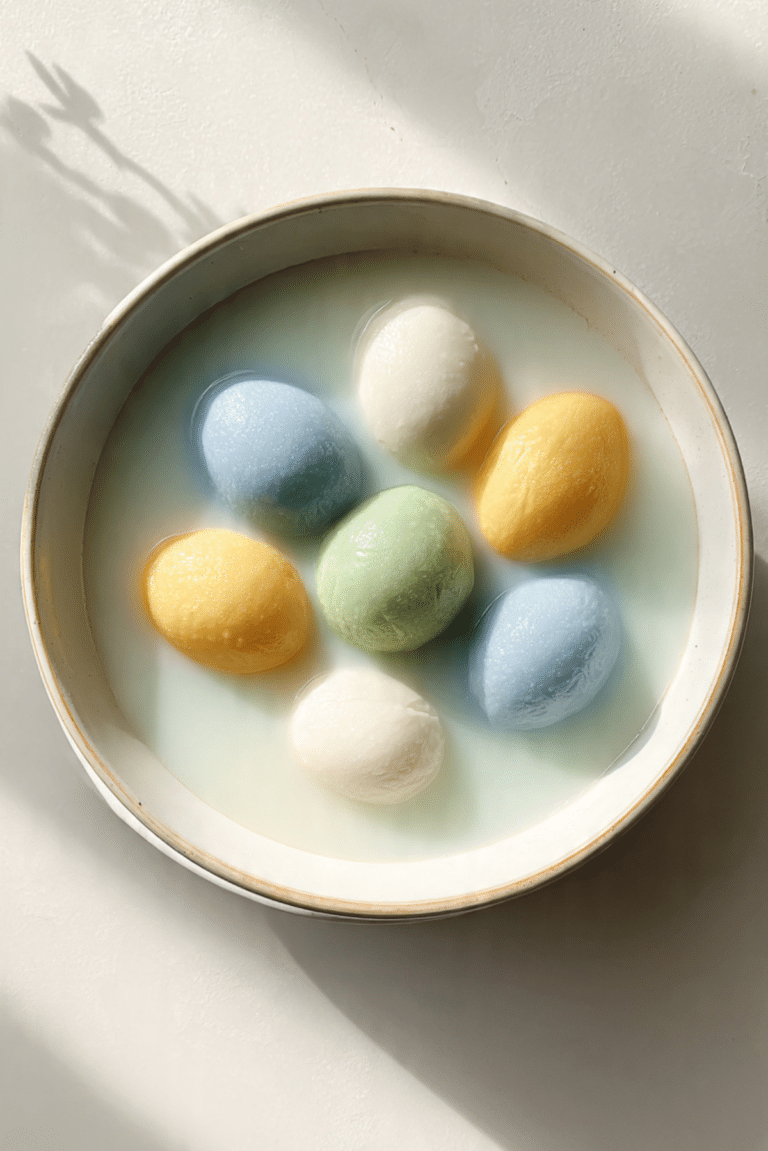
The moment you see those soft pastel layers stacked so neatly, you already know you are in for something special. This dessert is gentle, slightly sweet, and has that delicate coconut aroma that lingers just enough to make every bite feel comforting. Trust me, you’re going to love this, especially if you enjoy soft, chewy textures with a glossy finish that almost melts in your mouth.
A Soft, Colorful Treat That Feels Like a Little Celebration
There is something incredibly calming about preparing and eating this dessert. The smooth layers, the subtle sweetness, and the light coconut fragrance come together in a way that feels both simple and elegant. This one’s a total game-changer when you want something visually beautiful but not overly complicated.
A Sweet Story Rooted in Thai Tradition
This dessert has deep roots in Thai culture and is often served during celebrations and auspicious occasions. The layered design is not just for looks, it symbolizes progress and moving forward step by step. Traditionally steamed in thin layers, it reflects patience and care, making it more than just a treat, it becomes part of a meaningful experience.
Why This Dessert Always Works So Well
This recipe has earned its place in many kitchens for good reason, and now let’s walk through exactly why it stands out.
Versatile: You can play with colors and even subtle flavors while keeping the base the same, which makes it adaptable for any occasion.
Budget-Friendly: The ingredients are simple and affordable, mostly pantry staples with coconut milk bringing everything together.
Quick and Easy: While layering takes a bit of time, the steps themselves are straightforward and beginner-friendly.
Customizable: Add pandan, vanilla, or even natural coloring to create your own version.
Crowd-Pleasing: Its soft texture and gentle sweetness make it appealing to both kids and adults.
Make-Ahead Friendly: It holds its shape well and tastes just as good after chilling.
Great for Leftovers: It stores beautifully and keeps its texture without drying out.
Little Secrets That Make a Big Difference
Before we dive deeper, here are a few insider tips that elevate the final result.
- Use fresh coconut milk for a richer aroma
- Steam each layer evenly before adding the next
- Keep the heat consistent to avoid uneven texture
- Lightly oil the mold to ensure clean removal
Tools That Make the Process Smooth
Having the right tools makes the process feel effortless and enjoyable.
Steamer: Essential for cooking the layers evenly and gently.
Mixing Bowls: Helps keep your batter smooth and lump-free.
Whisk: Ensures all ingredients are fully combined.
Heatproof Mold or Pan: Keeps the shape structured during steaming.
Spatula or Knife: Useful for slicing clean, even squares.
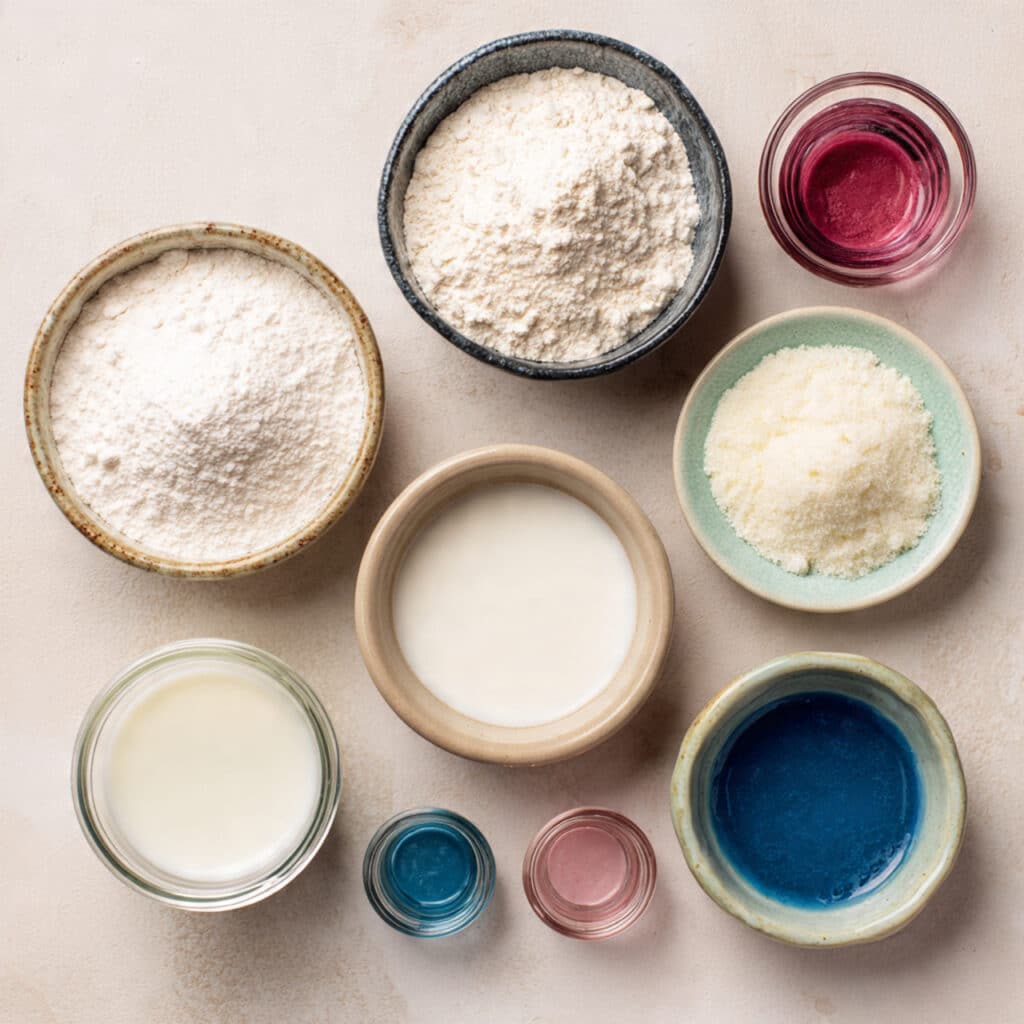
The Ingredients That Bring It All Together
And now let’s dive into what makes this dessert so beautifully balanced.
- Rice Flour: 1 cup, gives structure while keeping the texture soft
- Tapioca Starch: 1 cup, adds that signature chewy and glossy finish
- Sugar: 1 cup, provides gentle sweetness without overpowering
- Coconut Milk: 2 cups, brings richness and aroma
- Water: 1 cup, helps achieve the right batter consistency
- Food Coloring: a few drops, for those soft pastel layers
Easy Swaps If You Want to Experiment
If you feel like tweaking things a little, here are some easy substitutions.
Coconut Milk: Use light coconut milk for a less rich version
Sugar: Substitute with palm sugar for a deeper flavor
Food Coloring: Use natural options like pandan or butterfly pea
Ingredients Worth Highlighting
Some ingredients truly define this dessert.
Tapioca Starch: This is what creates that irresistible chewy texture that makes each bite satisfying.
Coconut Milk: Adds depth and a creamy aroma that ties everything together beautifully.
Let’s Start Cooking Together
Now comes the fun part, and here are the steps you’re going to follow.
- Preheat Your Equipment: Prepare your steamer and bring water to a gentle boil.
- Combine Ingredients: Mix rice flour, tapioca starch, sugar, coconut milk, and water until smooth.
- Prepare Your Cooking Vessel: Lightly grease your mold or pan.
- Assemble the Dish: Pour a thin layer of batter, add coloring if desired, and steam until set before adding the next layer.
- Cook to Perfection: Repeat layering and steaming until all batter is used.
- Finishing Touches: Let it cool completely to firm up.
- Serve and Enjoy: Slice into neat squares and enjoy the soft, chewy texture.
A Perfect Balance of Texture and Flavor
Each bite gives you that gentle bounce from the tapioca starch combined with a soft, silky finish from the rice flour. The coconut aroma wraps around everything, creating a light yet satisfying flavor that feels clean and comforting.
Helpful Tips for the Best Results
A few extra tips can really take your results to the next level.
- Keep layers thin for even cooking
- Stir batter before each pour to avoid settling
- Allow full cooling before slicing
What to Avoid for Perfect Layers
Even simple recipes have a few pitfalls, so here is what to watch out for.
- Pouring thick layers, which leads to uneven cooking
- Skipping greasing, which causes sticking
- Cutting while warm, which ruins the clean shape
Nutritional Snapshot
Servings: 12
Calories per serving: 160
Note: These are approximate values.
Time Breakdown for This Recipe
Prep Time: 15 minutes
Cook Time: 45 minutes
Total Time: 1 hour
Make-Ahead and Storage Tips
This dessert actually benefits from resting. You can prepare it ahead of time and store it in the refrigerator for up to three days. Keep it covered to maintain moisture. If chilled, allow it to sit at room temperature for a few minutes before serving to soften slightly.
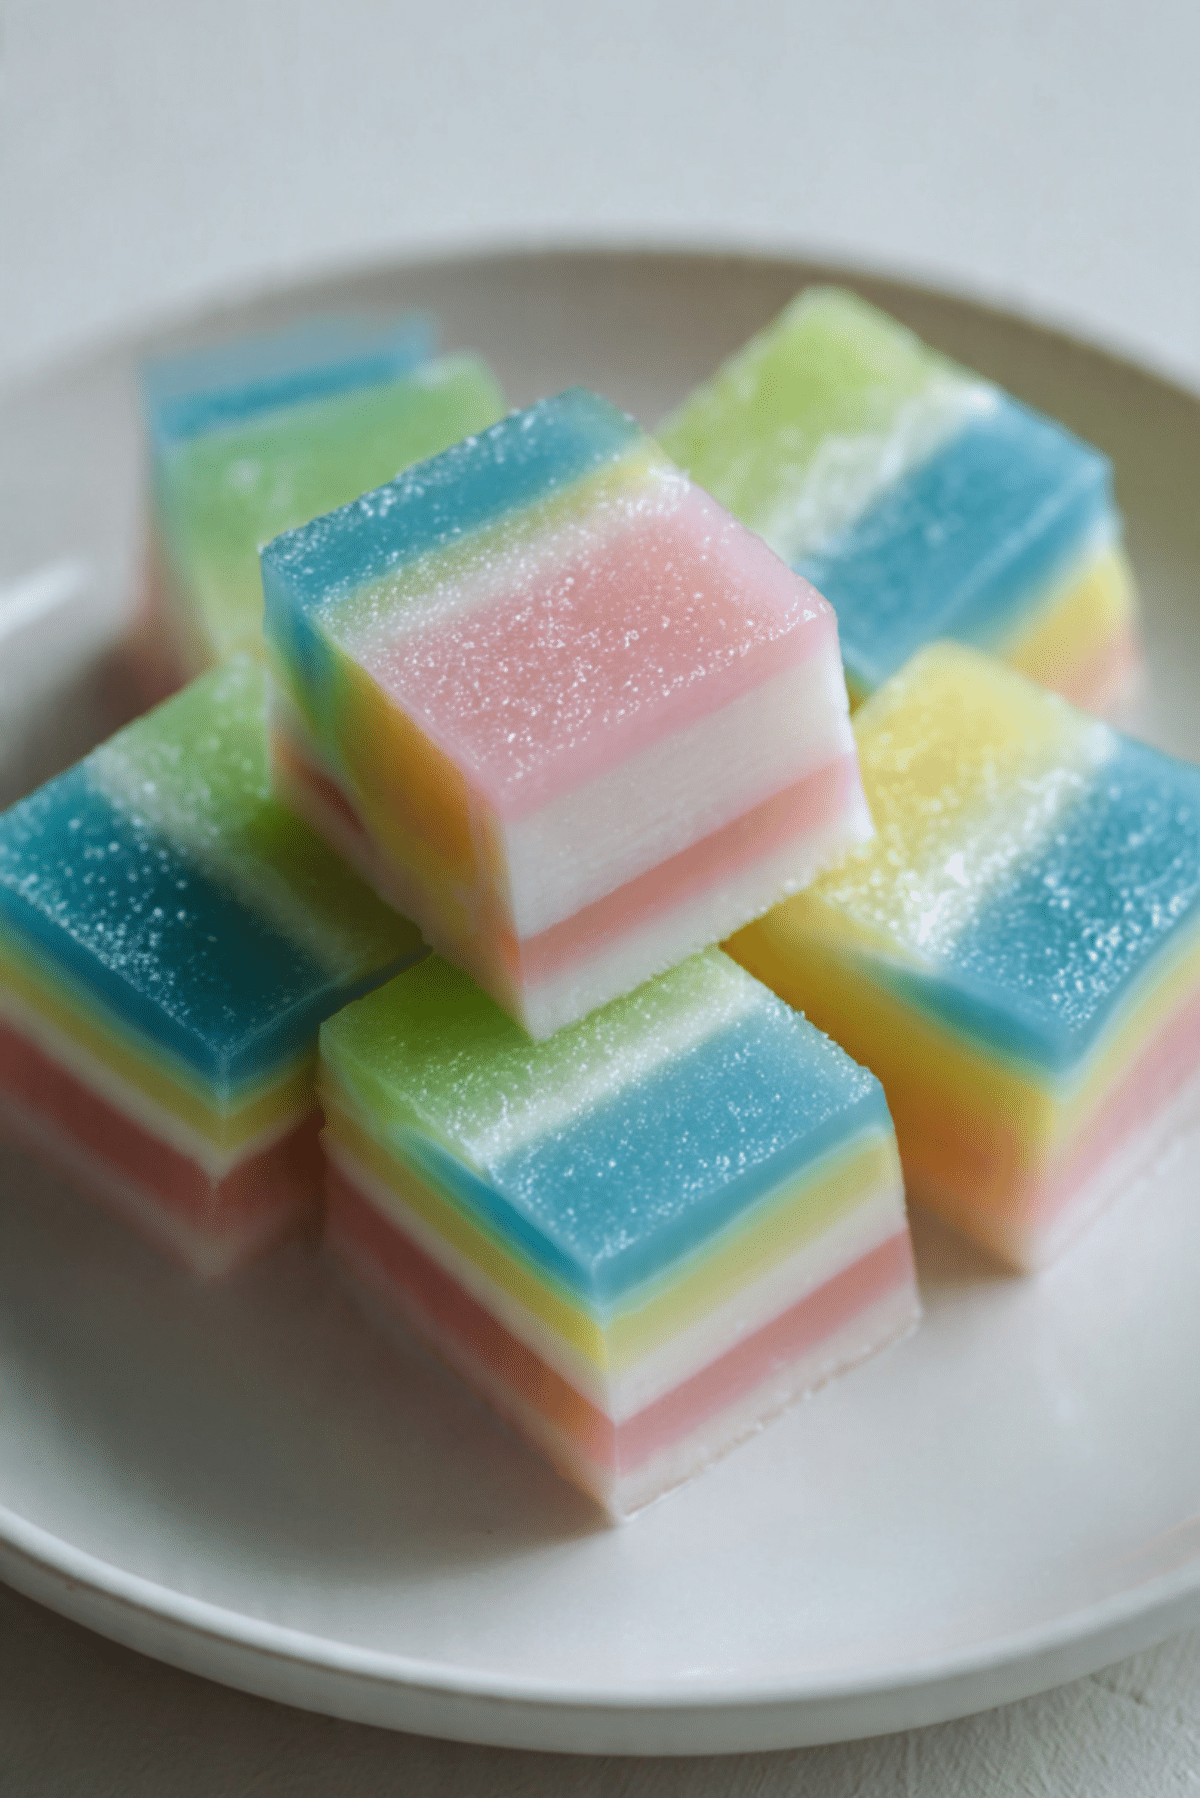
How to Serve It Just Right
Serve these colorful squares on a simple plate to highlight their layered beauty. Pair them with tea or a light drink to balance the sweetness.
Creative Leftover Ideas
Leftovers can be just as exciting.
- Dice and layer into a dessert bowl
- Serve chilled with fresh fruit
- Lightly warm for a softer texture
Extra Tips You Will Appreciate
Keep your knife slightly oiled when slicing to get those clean edges. Also, always stir your batter between layers for consistent texture.
Make It Visually Stunning
Use contrasting pastel colors for each layer and slice evenly sized squares. Presentation makes a huge difference with this dessert, and let me tell you, it’s worth every bite.
Fun Variations to Try
- Add pandan flavor for a fragrant twist
- Use natural floral extracts for subtle aroma
- Create gradient color layers for a modern look
- Add a light coconut topping for extra richness
FAQ’s
Q1: Can I make this without food coloring?
Yes, you can keep it plain or use natural coloring for a more traditional look.
Q2: Why is my texture too firm?
You may have added too much flour or over-steamed the layers.
Q3: Can I use a different flour?
Rice flour is essential for the correct texture, so substitutions may change the result.
Q4: How do I know each layer is ready?
It should look set and slightly glossy before adding the next layer.
Q5: Can I freeze it?
Freezing is not recommended as it affects the texture.
Q6: Why are my layers uneven?
This usually happens if the batter is not stirred before pouring.
Q7: Can I reduce the sugar?
Yes, but it may slightly affect the flavor balance.
Q8: What is the best way to cut it?
Use a sharp, lightly oiled knife after it has fully cooled.
Q9: Can I add fillings?
This dessert is best kept simple, but subtle additions can work.
Q10: Is it served warm or cold?
It is best served at room temperature or slightly chilled.
Conclusion
This dessert brings together simplicity, beauty, and flavor in such a satisfying way. From the soft layers to the gentle coconut aroma, every bite feels intentional and comforting. Give it a try, and you might just find yourself making it again and again.
Print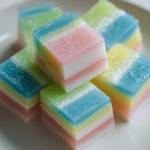
Kanom Chunt Dessert
- Prep Time: 15 minutes
- Cook Time: 45 minutes
- Total Time: 1 hour
- Yield: 12 servings 1x
- Category: Dessert
- Method: Steaming
- Cuisine: Thai
- Diet: Vegetarian
Description
A soft and chewy layered Thai dessert with delicate coconut flavor and vibrant pastel colors.
Ingredients
- 1 cup rice flour
- 1 cup tapioca starch
- 1 cup sugar
- 2 cups coconut milk
- 1 cup water
- a few drops food coloring
Instructions
- Prepare a steamer and bring water to a boil.
- Mix rice flour, tapioca starch, sugar, coconut milk, and water until smooth.
- Lightly grease a heatproof mold.
- Pour a thin layer of batter and steam until set.
- Add color to remaining batter and repeat layering and steaming.
- Continue until all batter is used.
- Allow to cool completely before slicing.
Notes
- Stir batter before each layer
- Use thin layers for best texture
- Cool completely before cutting
Nutrition
- Serving Size: 1 square
- Calories: 160
- Sugar: 18g
- Sodium: 20mg
- Fat: 5g
- Saturated Fat: 4g
- Unsaturated Fat: 1g
- Trans Fat: 0g
- Carbohydrates: 28g
- Fiber: 1g
- Protein: 2g
- Cholesterol: 0mg
Keywords: thai dessert, layered dessert, coconut dessert, chewy dessert